> For the complete documentation index, see [llms.txt](https://docs.openbrush.app/llms.txt). Markdown versions of documentation pages are available by appending `.md` to page URLs; this page is available as [Markdown](https://docs.openbrush.app/user-guide/exporting-videos/camera-tool-gifs-snapshots-video.md).
# Camera tool (GIFs, snapshots, video)
Auto-GIF, 5-second GIF, conventional, 360° and depth snapshots, and handheld video capture.
Open Brush has a handheld camera tool for quick captures. You use it for GIFs, conventional or 360° snapshots, depth captures, and (on PC VR) video.
### Where captures are saved
Snapshots and depth captures are saved to:
* `Documents/Open Brush/Snapshots`
Videos and GIFs are saved to:
* `Documents/Open Brush/Videos`
### Beginner mode
In Beginner mode, the camera icon is a single-function tool. It opens camera controls on your brush controller.
The options are:
1. Auto-Gif
2. 5 Second Gif
3. Snapshot
4. 360 Snapshot
5. Depth
6. Video (not present on every platform)
You control the camera like a handheld device.
* Swipe left/right on the thumbpad to switch modes.
* Pull the trigger to capture.
#### 5 Second Gif
Hold the trigger for five seconds. You can release and pull again to stop/start on the same 5-second timeline.
#### Video
Pull the trigger to start. Pull again to stop.
This is true handheld capture. You control camera direction, speed, and orientation.
#### 360 Snapshot
Pull the trigger to create a stereoscopic 360° ODS image from the camera's position. The output is a square PNG with `_360` in its filename and uses the configured `SnapshotWidth`. Capturing takes longer than a conventional snapshot; keep the camera and scene still until it completes.
#### Depth
Pull the trigger to save a colour image and several depth sidecar files with the same base filename:
| Suffix | Contents |
| -------------- | ---------------------------------------------------------------------------------------------- |
| `_depth.png` | Viewable normalized depth; nearer pixels are lighter. |
| `_depth16.png` | 16-bit linear depth suitable for image-processing tools. |
| `_depth.exr` | 32-bit floating-point linear depth in metres. |
| `_depth.json` | Dimensions, clipping planes, FOV and encoding information needed to interpret the depth files. |
Pixels where no geometry was rendered use the invalid value documented in the JSON metadata. Post-processing and the watermark are disabled for the depth data.
Depth captures are limited to 8,192 pixels on their largest side. If the configured snapshot dimensions are larger, Open Brush scales them down while preserving the aspect ratio.
### Automated colour, depth and normal capture
The HTTP API's `app.snapshot` command captures a colour image, depth sidecars and a `_normals.png` image from an explicit camera pose. See the [API Commands List](https://docs.openbrush.app/user-guide/exporting-videos/pages/-MikxGjASGo8wBuF5M2j#app.snapshot) for its parameters and an example.
### Advanced mode (Camera Options)
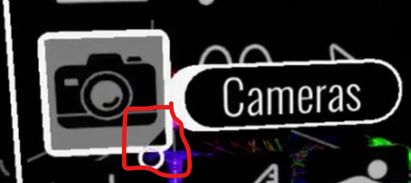
In Advanced mode, the camera icon has a sub-menu. You’ll see a small triangle in the corner.
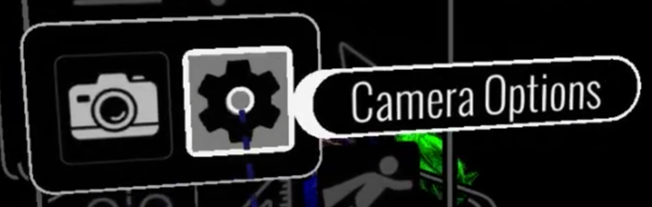
Click and hold to open the sub-menu. Then choose **Camera Options**.
The Cameras icon in Advanced mode has a sub-menu.
Camera Options is inside the Cameras sub-menu.
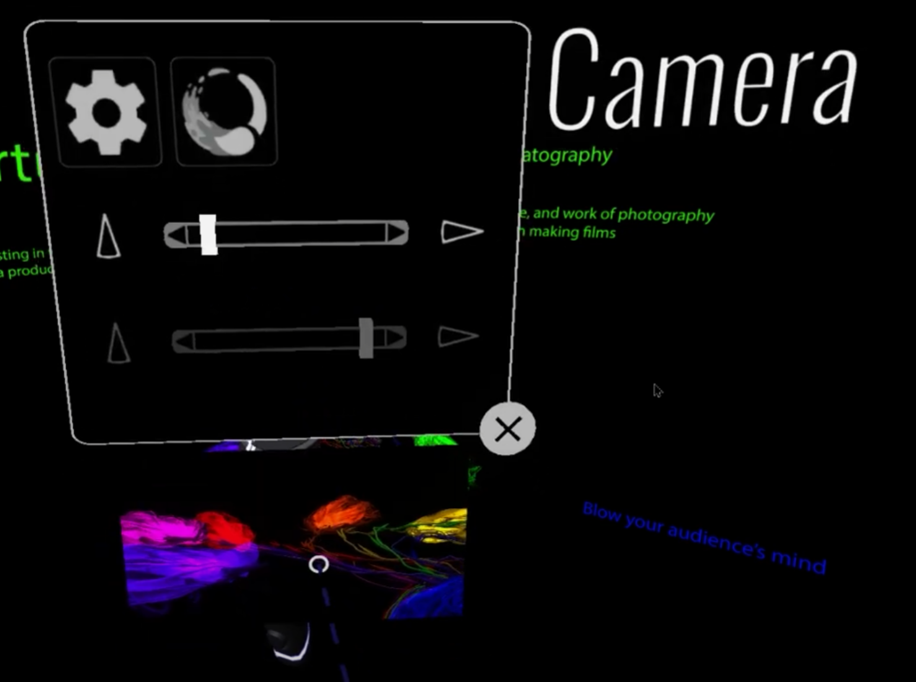
In **Camera Options**, you can:
* Toggle the Open Brush watermark.
* Adjust field of view (FOV) and smoothing.
* Toggle post effects.
#### FOV examples
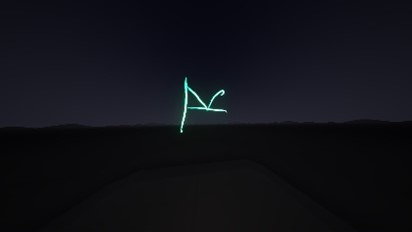
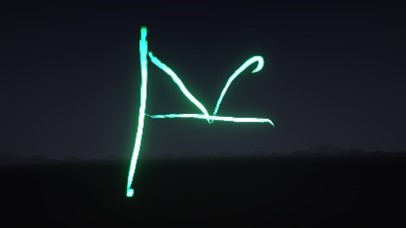
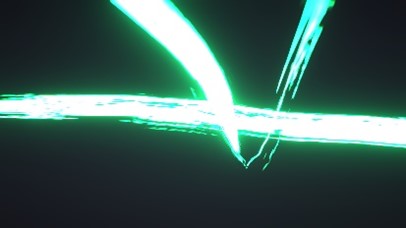
These examples show FOV set to 140, 70, and 10. The first image has the watermark enabled.
FOV 140 (wide angle), watermark on
FOV 140, watermark off
FOV 70
FOV 10
### Demo video
This demo was recorded via the Spectator Camera.
{% embed url="" %}
---
# Agent Instructions
This documentation is published with GitBook. GitBook is the documentation platform designed so that both humans and AI agents can read, navigate, and reason over technical content effectively. Learn more at gitbook.com.
## Querying This Documentation
If you need additional information that is not directly available in this page, you can query the documentation by asking a question.
Perform an HTTP GET request on the following URL with the `ask` and `goal` query parameters:
```
GET https://docs.openbrush.app/user-guide/exporting-videos/camera-tool-gifs-snapshots-video.md?ask=&goal=
```
`ask` is the immediate question: it should be specific, self-contained, and written in natural language.
`goal` is what the user is ultimately trying to achieve, the reason they need the answer. Sharing it helps GitBook give you a better, more relevant answer. A goal is most helpful when it describes the outcome the user wants rather than restating the question. For example, with `ask=how do I create an API token`, a goal like `automate deployments from our CI pipeline` lets GitBook tailor the answer to that use case.
The response will contain a direct answer to the question and relevant excerpts and sources from the documentation.
Use this mechanism when the answer is not explicitly present in the current page, you need clarification or additional context, or you want to retrieve related documentation sections.