> For the complete documentation index, see [llms.txt](https://docs.openbrush.app/llms.txt). Markdown versions of documentation pages are available by appending `.md` to page URLs; this page is available as [Markdown](https://docs.openbrush.app/user-guide/exporting-videos/camera-paths-tool.md).

# Camera Paths Tool

Draw a path, control direction/speed/FOV, then record a guided move.

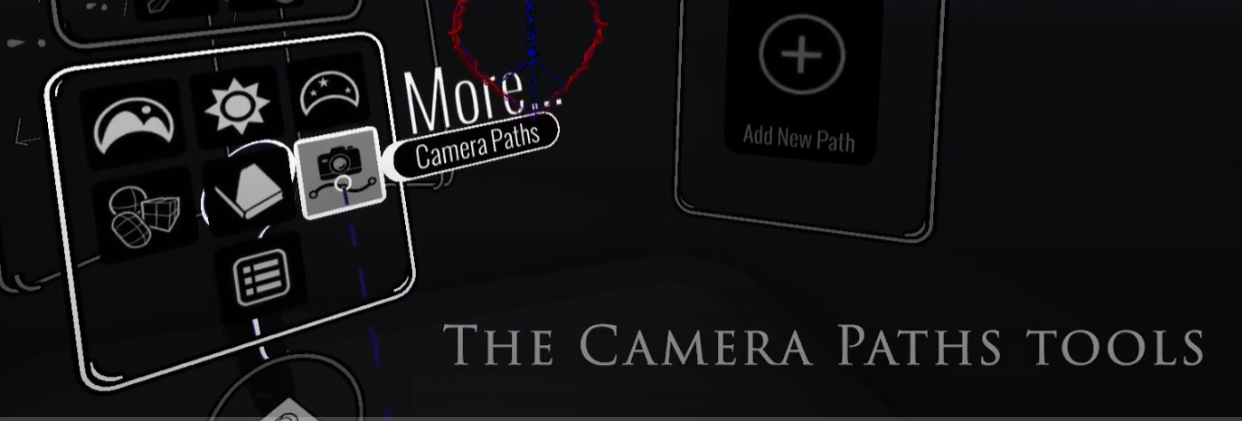
Camera Paths lets you record video by moving a camera along a path. It’s the core “virtual cinematography” tool in Open Brush.

Once you start recording a path, other tools are locked. If you cancel mid-recording, the partial video is discarded.

<figure><img src="https://3738774261-files.gitbook.io/~/files/v0/b/gitbook-x-prod.appspot.com/o/spaces%2F-Mikdwm98p33AibfiSqN%2Fuploads%2Fgit-blob-4b1c32b4d2ce7faf7c9d489a0fa42b163d9096e7%2FThe%20Camera%20Paths%20tools.png?alt=media" alt=""><figcaption><p>The Camera Paths tool opens a dedicated panel.</p></figcaption></figure>

### Create a path

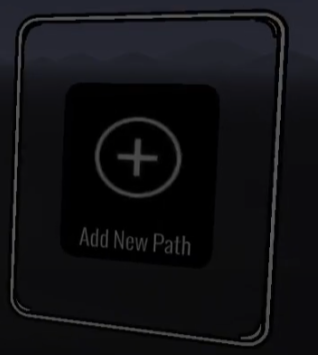
If you have no paths yet, select **Add New Path**. You can then create the path in one of three ways.

<figure><img src="https://3738774261-files.gitbook.io/~/files/v0/b/gitbook-x-prod.appspot.com/o/spaces%2F-Mikdwm98p33AibfiSqN%2Fuploads%2Fgit-blob-e2792c3da473633843deb820e56a8def9e2be3ca%2FCP%20New%20Path%20Tool.png?alt=media" alt=""><figcaption><p>Create a path first. Other tools unlock after that.</p></figcaption></figure>

#### Place anchor points

Select **Add Anchor Point**, then place at least two points. Add more points to shape the route. Use the direction, speed and FOV tools after creating the path to control how the camera moves along it.

#### Record a flight

Select **By Flying** to switch to the Fly tool and begin recording. Fly through the sketch along the route you want, then select **Stop Recording Flight**. Open Brush turns the recorded movement into an editable camera path.

This is useful when it is easier to perform the camera move than construct it one point at a time. Open Brush simplifies the recording into a manageable number of path knots, so the result may not reproduce every small movement.

#### Draw a path

Select **Draw Camera Path**, hold the trigger and draw the route through the scene. Release the trigger to create the path. The camera initially looks in the direction of travel and remains level with the world horizon.

Drawing creates a new path rather than extending the currently selected path. You can edit the resulting anchors, direction, speed and FOV in the same way as any other camera path.

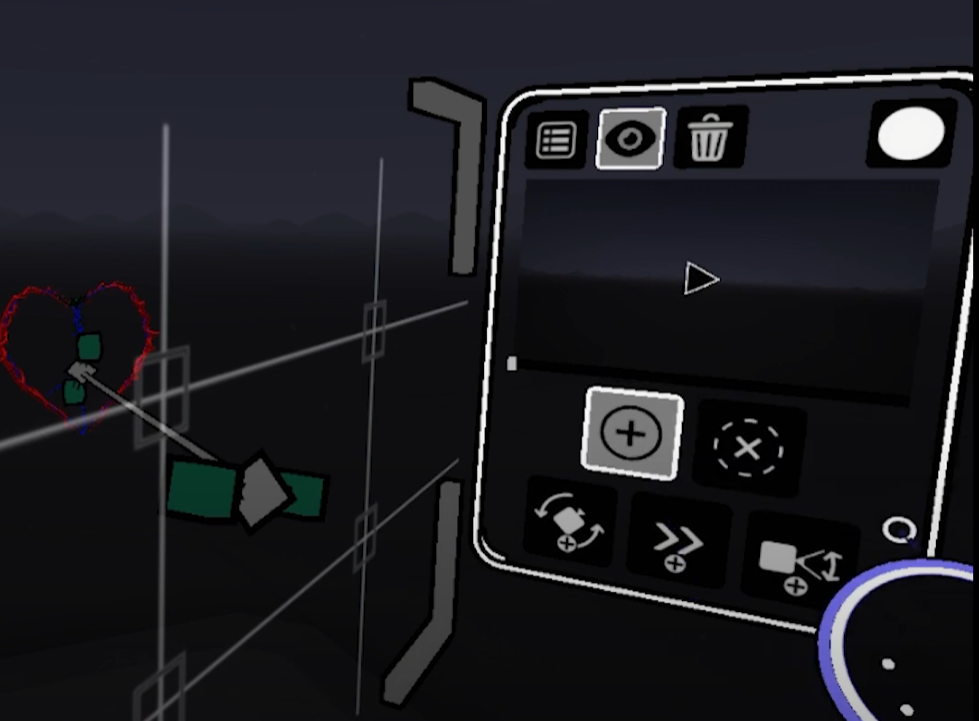
After that, you’ll see the full set of tools:

<figure><img src="https://3738774261-files.gitbook.io/~/files/v0/b/gitbook-x-prod.appspot.com/o/spaces%2F-Mikdwm98p33AibfiSqN%2Fuploads%2Fgit-blob-a58999eb11d8e2465d1036516d4787cb7c2ed4df%2FCamera%20Paths%20Palate%20and%20tools.png?alt=media" alt=""><figcaption><p>The panel after a path is created.</p></figcaption></figure>

### Tools

#### Select Path

Choose which existing path you want to edit.

<figure><img src="https://3738774261-files.gitbook.io/~/files/v0/b/gitbook-x-prod.appspot.com/o/spaces%2F-Mikdwm98p33AibfiSqN%2Fuploads%2Fgit-blob-a134bc887eb4b6c0083e90605f63a02e65574717%2FCP%20Select%20Path.png?alt=media" alt=""><figcaption><p>Select Path</p></figcaption></figure>

#### Show Paths

Shows paths in the sketch so you can manipulate them.

<figure><img src="https://3738774261-files.gitbook.io/~/files/v0/b/gitbook-x-prod.appspot.com/o/spaces%2F-Mikdwm98p33AibfiSqN%2Fuploads%2Fgit-blob-9771284edd07f45ad453c3365bef8602b3ad4bbd%2FCP%20Show%20paths.png?alt=media" alt=""><figcaption><p>Show Paths</p></figcaption></figure>

#### Delete Path

Deletes the entire selected path.

<figure><img src="https://3738774261-files.gitbook.io/~/files/v0/b/gitbook-x-prod.appspot.com/o/spaces%2F-Mikdwm98p33AibfiSqN%2Fuploads%2Fgit-blob-5f9a9260aff5a30e19665e9a701eb5e4ec263367%2FCP%20Delete%20Path%20tool.png?alt=media" alt=""><figcaption><p>Delete Path</p></figcaption></figure>

#### Record Path

Renders the view while moving the camera through the full path. On desktop, the output video appears in `Documents/Open Brush/Videos`.

On standalone headsets, which do not bundle a video encoder, Open Brush writes numbered images to a `<recording-name>_frames` folder and creates a matching `<recording-name>_sequence.txt` file with the capture settings and an example ffmpeg command. See [Quest and other standalone headsets](/user-guide/exporting-videos/quest-and-other-standalone-headsets.md#option-1-render-frames-on-quest-then-compile).

Recording cannot be paused. Cancel by clicking the **X** on the brush controller while recording.

<figure><img src="https://3738774261-files.gitbook.io/~/files/v0/b/gitbook-x-prod.appspot.com/o/spaces%2F-Mikdwm98p33AibfiSqN%2Fuploads%2Fgit-blob-297d39bf81b061d45b11df10208328264e07fb30%2FCP%20record%20path%20tool.png?alt=media" alt=""><figcaption><p>Record Path</p></figcaption></figure>

#### New Anchor Point

Adds an anchor point to the path. If you add to either end, it stays active for adding more points.

<figure><img src="https://3738774261-files.gitbook.io/~/files/v0/b/gitbook-x-prod.appspot.com/o/spaces%2F-Mikdwm98p33AibfiSqN%2Fuploads%2Fgit-blob-0b5cfb90627215d6ac876410e49580d9100e20fe%2FCP%20New%20Anchor%20Point.png?alt=media" alt=""><figcaption><p>New Anchor Point</p></figcaption></figure>

#### Delete Anchor Point

Deletes any control point on the timeline. That includes anchor, direction, speed, and zoom points.

<figure><img src="https://3738774261-files.gitbook.io/~/files/v0/b/gitbook-x-prod.appspot.com/o/spaces%2F-Mikdwm98p33AibfiSqN%2Fuploads%2Fgit-blob-d2c359ce518348467cdf0b64bbf25f1ddea79324%2FCP%20Delete%20Point%20tool.png?alt=media" alt=""><figcaption><p>Delete Point</p></figcaption></figure>

#### Camera Direction Point

Controls where the camera points. Direction points blend with nearby direction points for smooth motion.

<figure><img src="https://3738774261-files.gitbook.io/~/files/v0/b/gitbook-x-prod.appspot.com/o/spaces%2F-Mikdwm98p33AibfiSqN%2Fuploads%2Fgit-blob-8b1f90d86203d391aeaf40cf6ea8402d983528b0%2FCP%20Camera%20Direction%20Point.png?alt=media" alt=""><figcaption><p>Camera Direction Point</p></figcaption></figure>

#### Camera Speed Point

Controls how fast the camera moves. Values range from `0.1` to `100`. Speed blends between points.

<figure><img src="https://3738774261-files.gitbook.io/~/files/v0/b/gitbook-x-prod.appspot.com/o/spaces%2F-Mikdwm98p33AibfiSqN%2Fuploads%2Fgit-blob-db392282cf5fd4b274fa9ecbb25f6e19b2dc5be7%2FCP%20Camera%20Speed%20Points.png?alt=media" alt=""><figcaption><p>Camera Speed Point</p></figcaption></figure>

#### Camera Zoom (FOV) Point

Controls field of view over time. Values range from `10` to `140`. FOV blends between points.

<figure><img src="https://3738774261-files.gitbook.io/~/files/v0/b/gitbook-x-prod.appspot.com/o/spaces%2F-Mikdwm98p33AibfiSqN%2Fuploads%2Fgit-blob-2ca75db929a9f644f6dc8fe372994f9496f82732%2FCP%20Camera%20Zoom%20Point.png?alt=media" alt=""><figcaption><p>Camera Zoom Point</p></figcaption></figure>

### Practical notes

Camera Paths can be time consuming. Each control point affects the timeline before and after it.

The tool is only accessible after the sketch is fully rendered. So it can’t capture the rendering process itself.


---

# Agent Instructions
This documentation is published with GitBook. GitBook is the documentation platform designed so that both humans and AI agents can read, navigate, and reason over technical content effectively. Learn more at gitbook.com.

## Querying This Documentation
If you need additional information that is not directly available in this page, you can query the documentation dynamically by asking a question.

Perform an HTTP GET request on the current page URL with the `ask` query parameter, and the optional `goal` query parameter:

```
GET https://docs.openbrush.app/user-guide/exporting-videos/camera-paths-tool.md?ask=<question>&goal=<endgoal>
```

`ask` is the immediate question: it should be specific, self-contained, and written in natural language.
`goal` is optional and describes the broader end goal you are ultimately trying to accomplish on behalf of the user. GitBook uses it to tailor the answer towards what is most useful for that goal.

The response will contain a direct answer to the question and relevant excerpts and sources from the documentation.

Use this mechanism when the answer is not explicitly present in the current page, you need clarification or additional context, or you want to retrieve related documentation sections.